![Notify_Refresh_MasterLogo_CMYK[1]](https://helpcentre.notifytechnology.com/hs-fs/hubfs/Notify_Refresh_MasterLogo_CMYK%5B1%5D.png?width=291&height=117&name=Notify_Refresh_MasterLogo_CMYK%5B1%5D.png)
Firstly, you will need to login to your Notify account, you can do this here
1. Select the form template tab

2. Click on create new template

3. Name your template

Optionally add a description of what the form will be used for.
4. Set your report preferences
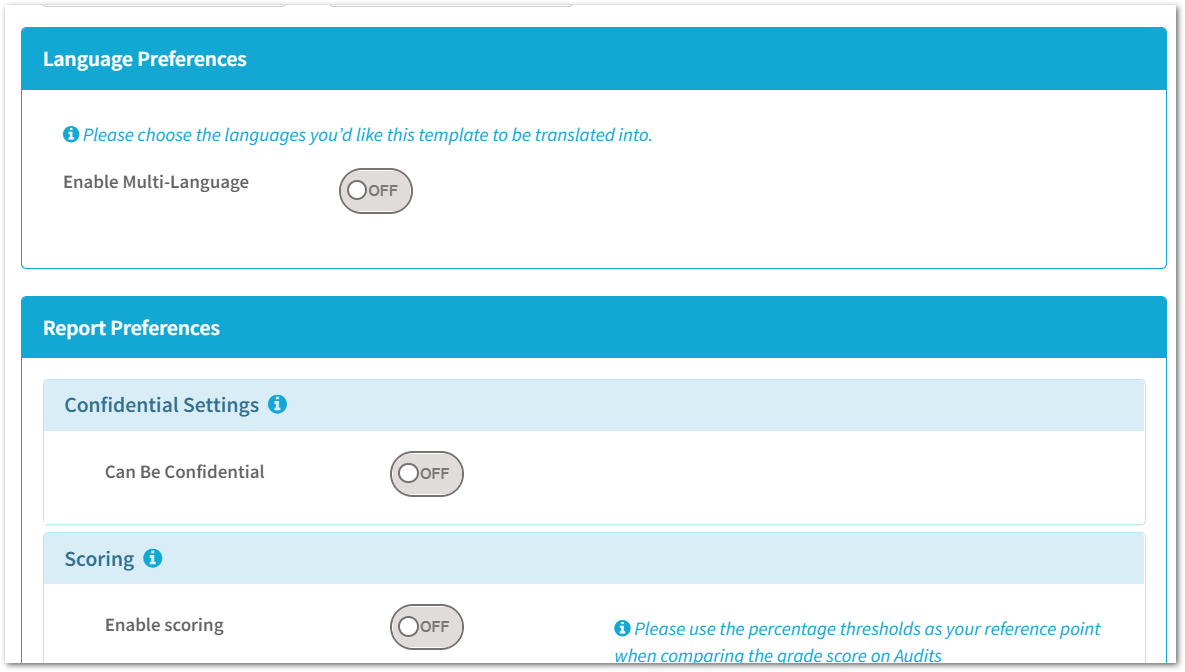
You then have the option to enable multi-language settings, as well as configure your report preferences.
Click here to learn how to set your report preferences.
You can also Lock the form template, so unauthorised users are unable to edit it. Click here to learn more about this feature.
5. Create your first section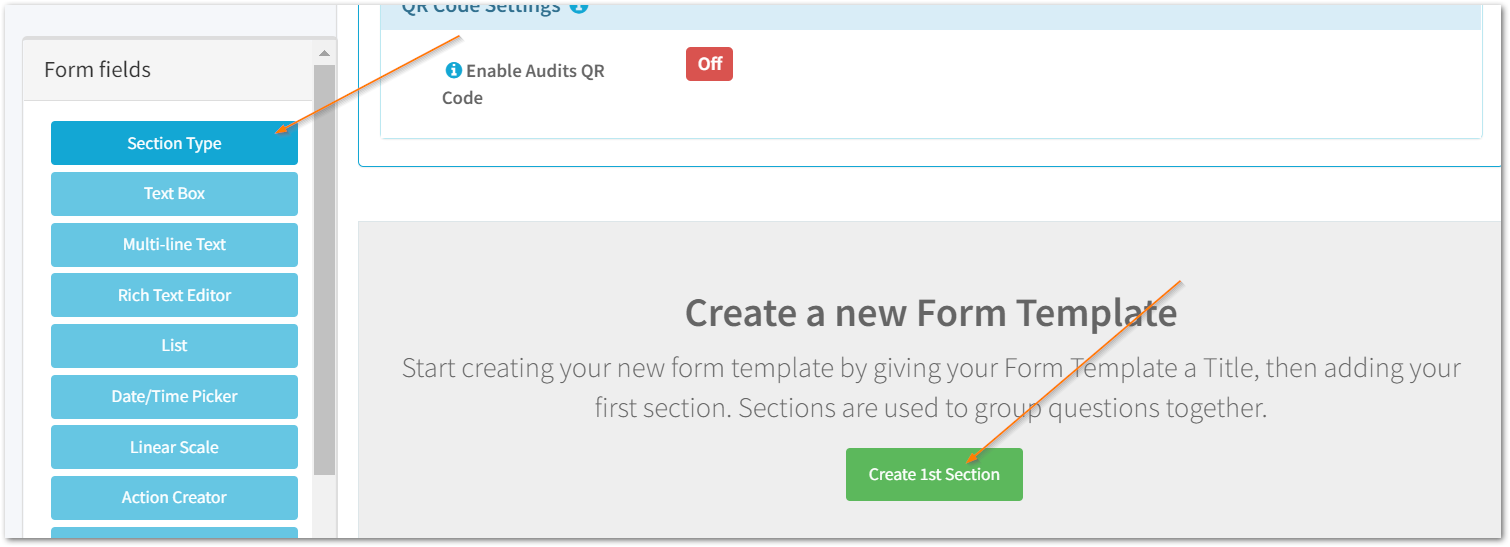
Click on Create 1st section or Section Type within the form fields menu.
For any additional sections as you build your audit, select Section Type.
The below video details how to add sections & questions to your template:
6. Name your section

Optionally add a section description.
You will also be able to make the section 'not applicable'. If you select this box, it will allow auditors to mark a whole section as Not applicable when carrying out their audit.
7. Add form fields 
Using the form fields menu, click on the fields you are including in your template - for further details on form fields individually, please read this article here
You can choose as many of these field types as necessary to build your audit, however it is important to note that sections cannot include identical questions (duplicates) e.g. several text box types with ‘notes’ as the question.
As you add additional fields and sections, you will be able to apply conditional question rules on these, for details on what these are and how to use this feature read the article here
8. Preview your audit as you build
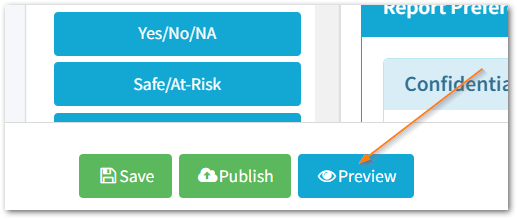
Select the Preview button on the bottom left-hand side of the page to view what your audit will look like whilst being carried out.
This tool is useful to ensure that the audit is user friendly and clear for those that will be conducting the audit.

Once you have finished viewing the Preview, select Edit mode to return to the template builder screen. You can continue to switch back and forth between Preview and Edit mode throughout the build.
9. Save your audit
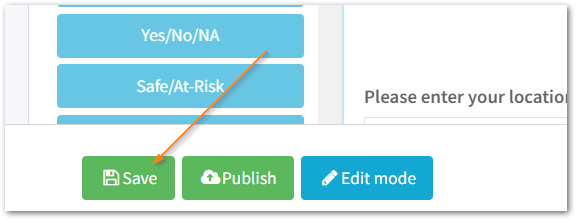
If you have not finished building your audit but would like to save this to continue building later, select the Save button; this will then save your audit as a draft which can be found on the form templates tab when filtering by 'draft'.
This will also ensure that auto-save is enabled on your template.
The auto-save functionality will then be triggered to save every 3 minutes after the last change you made.

10. Publish your audit
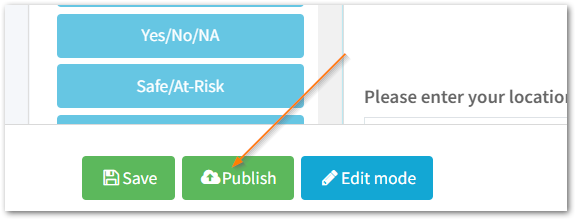
When you have finished your audit, saved it and are ready to publish - select the publish button at the bottom of the page.

Then, select Yes, Publish the Template.
You can now edit (Create New Version); set restrictions by organisation structure or permission group; archive and clone this audit.
Auditors with permission to view this audit will now be able to create and carry out this audit in the Audits tab.