![Notify_Refresh_MasterLogo_CMYK[1]](https://helpcentre.notifytechnology.com/hs-fs/hubfs/Notify_Refresh_MasterLogo_CMYK%5B1%5D.png?width=291&height=117&name=Notify_Refresh_MasterLogo_CMYK%5B1%5D.png)
Firstly, you will need to login to your Notify account, you can do this here
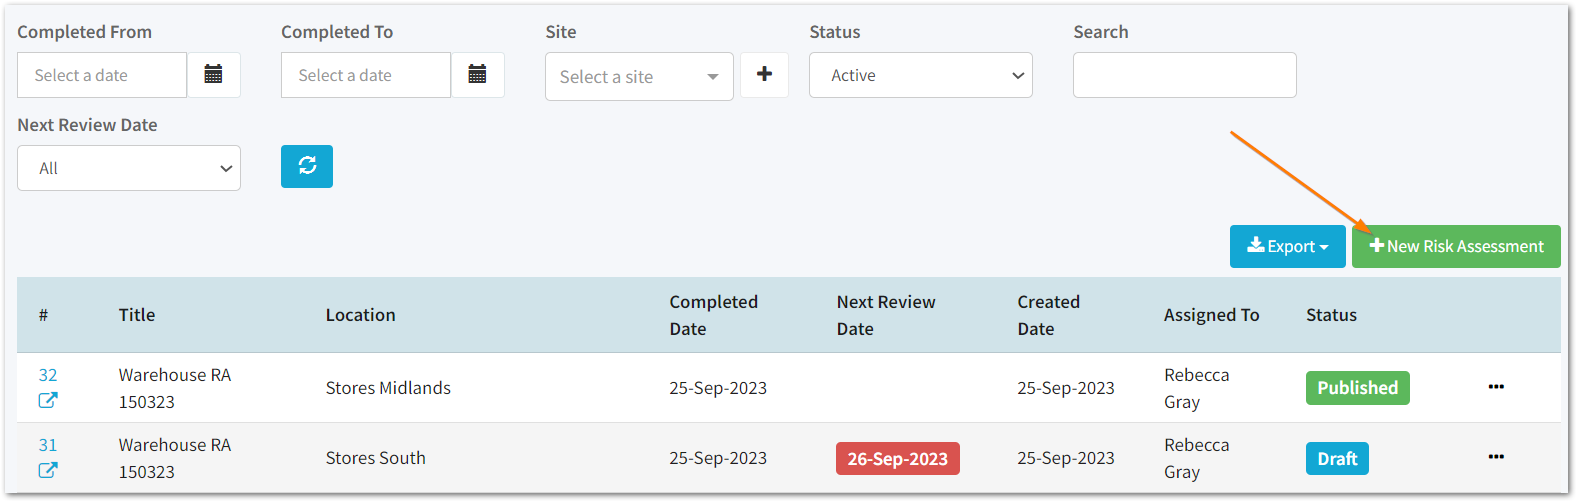
1. Select Risk Assessments

2. Click New Risk Assessment
3. Click on the template you would like to use
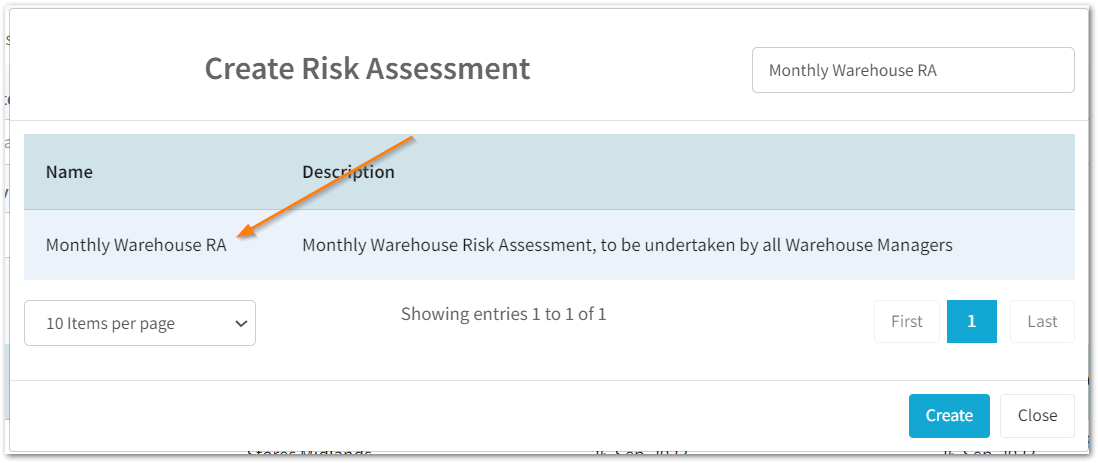
Here, you can choose between templates that have been created in the Risk Templates tab as well as blank risk assessment templates with and without an initial risk score.
Note: If you are using the blank risk assessment templates, these won't include the ability to include COSHH/PPE details such as substance information and properties, PPE requirements and Emergency precautions.
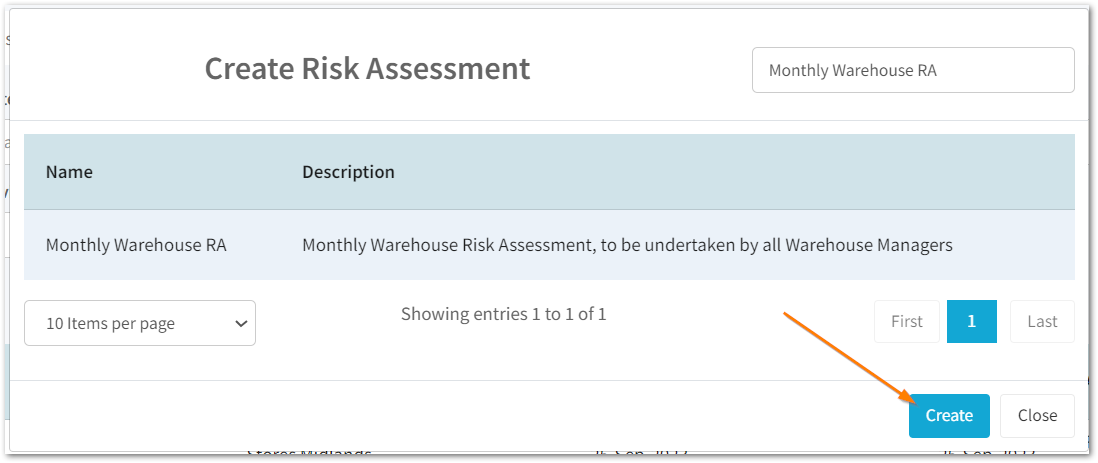
4. Click Create
5. Enter the General Details of the risk assessment
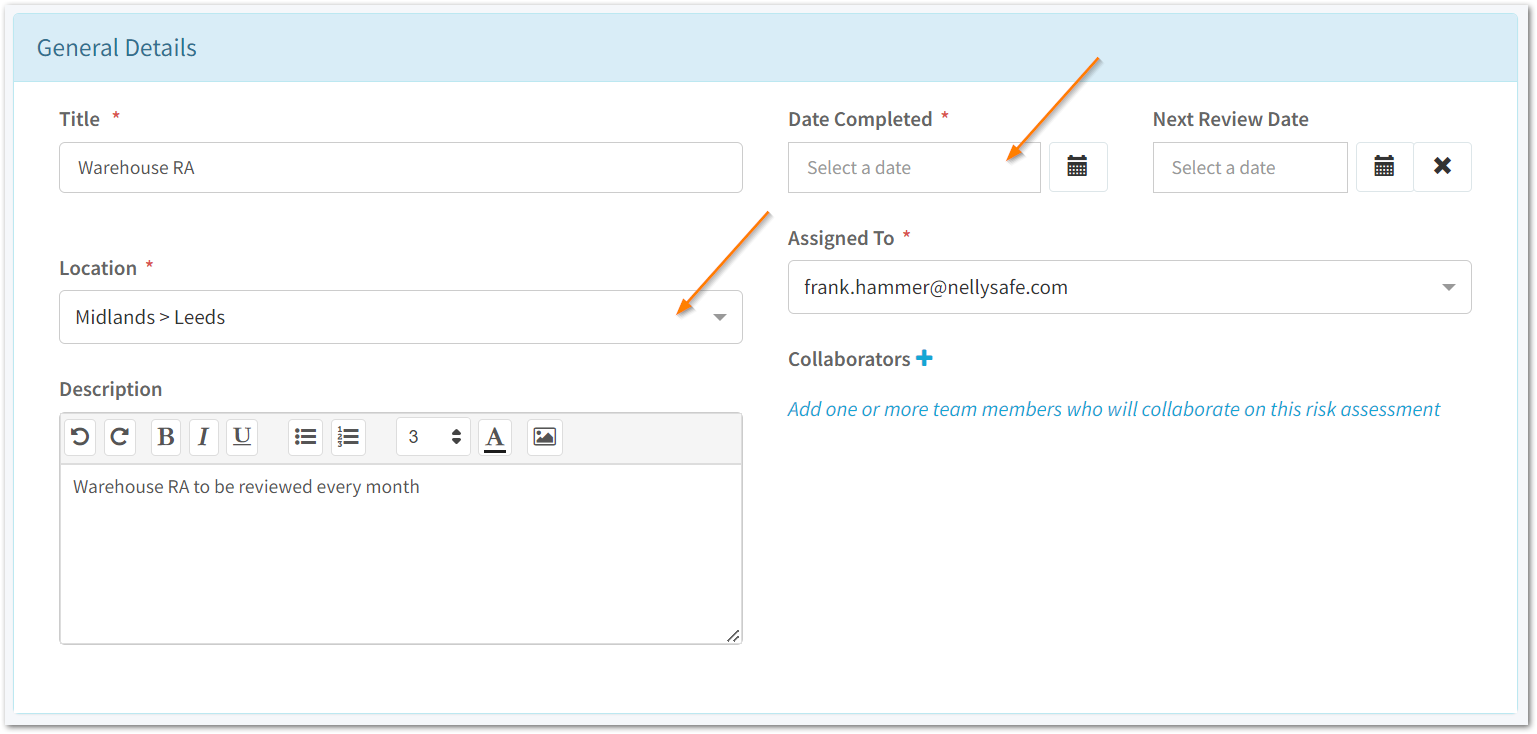
In this section you will need to enter the location as it relates to your organisation structure as well as the completed date.
Optionally update the title, description, enter a next review date and add collaborators.
To add collaborators, click on the ➕ icon and enter the username.
Note: For collaborators to be added, they must have the relevant permissions assigned on their account.
5.a Optionally add pictures
Select the image icon and choose an image from your files.

This option is available on each of these text fields within the Risk Assessment
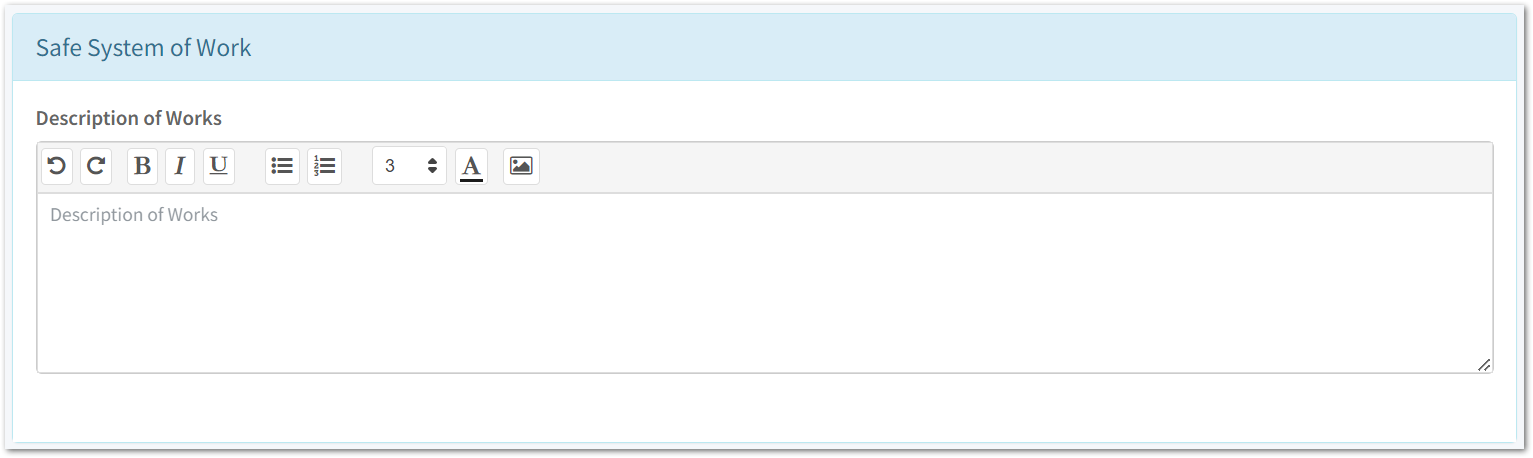
6. Optionally enter a Safe System of Work, Substance Properties, PPE requirements, Emergency precautions and Further requirements.
If your template doesn't include Substance Properties, PPE requirements, Emergency precautions or Further requirements, move on to Step 7
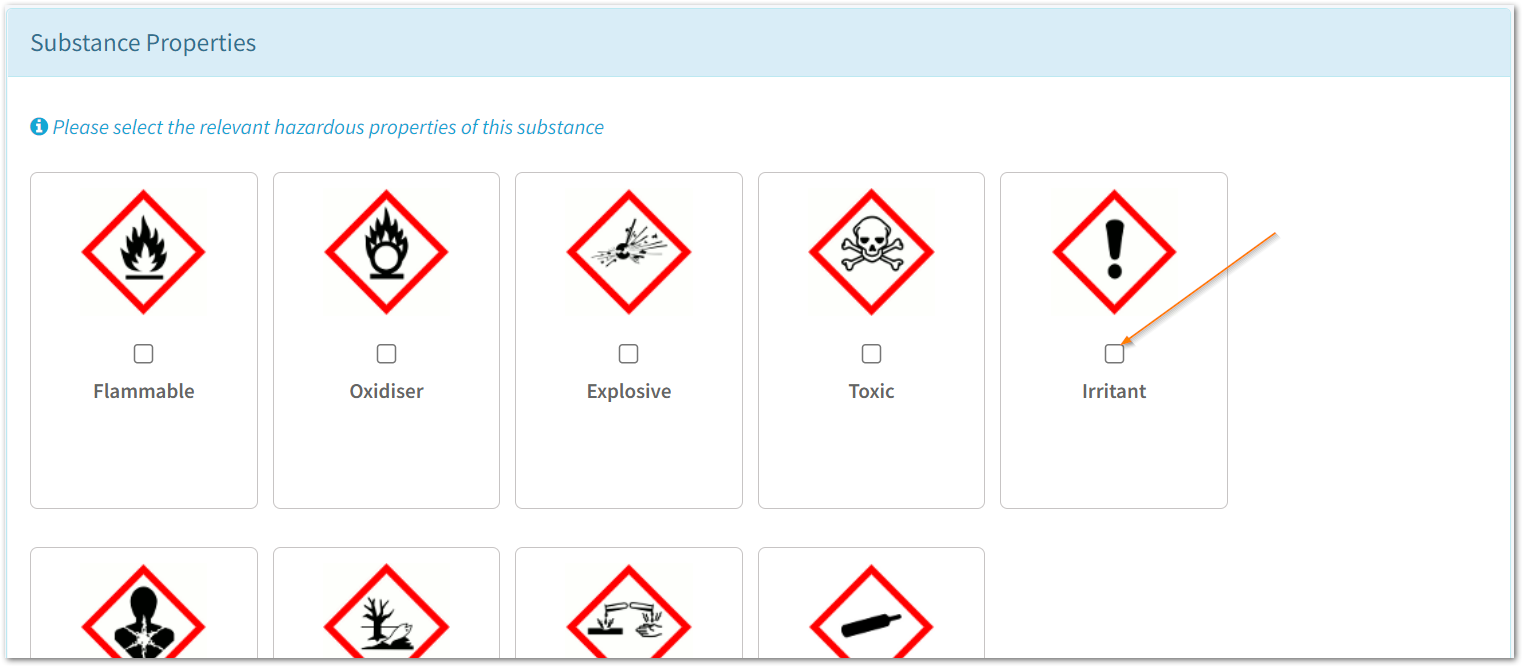
To select the Substance Properties relevant to the risk assessment, click into the checkbox.
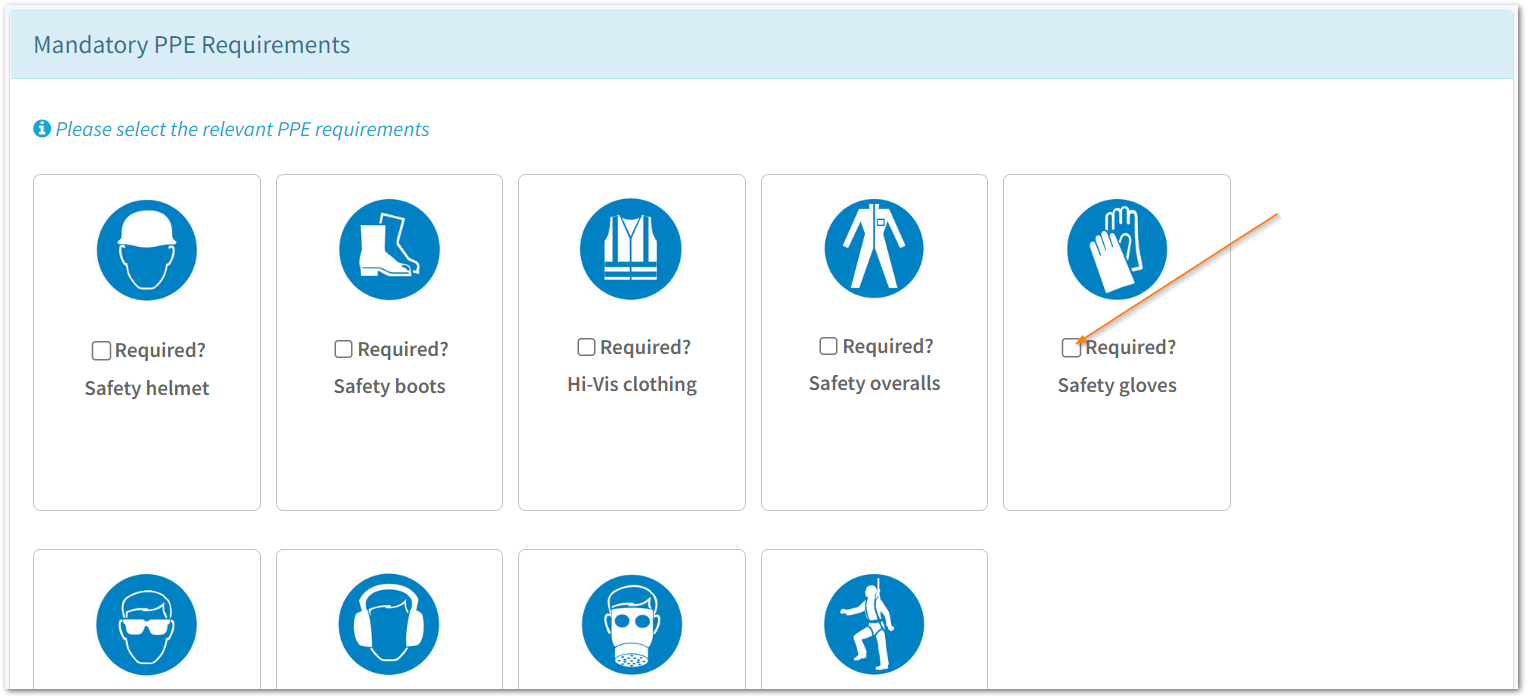
To select the relevant PPE requirements, click into the checkbox.
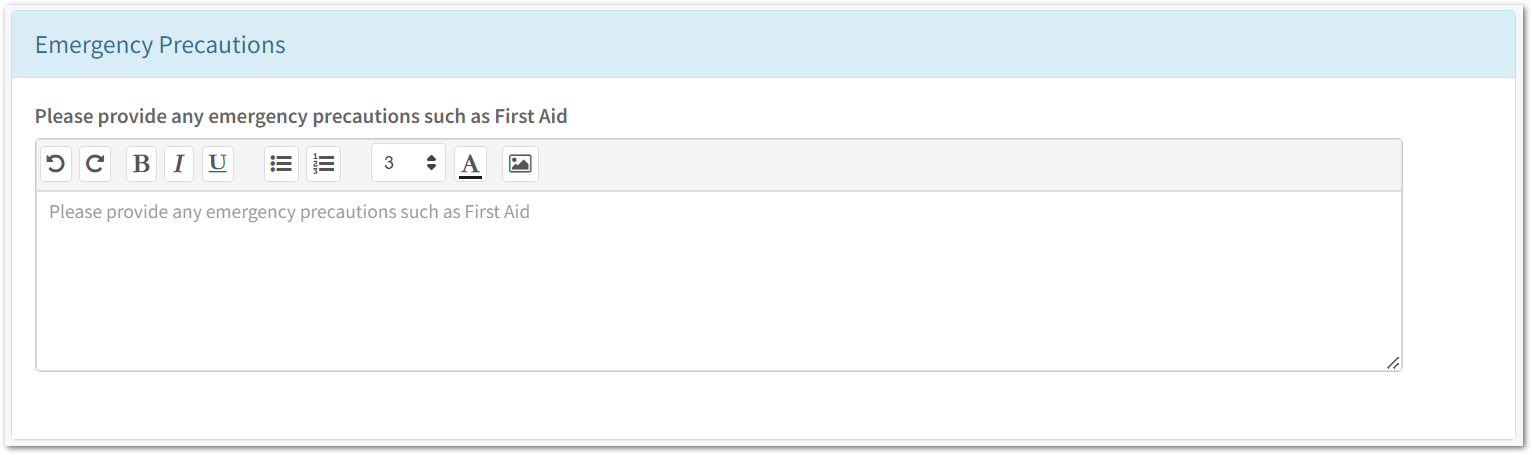 Optionally enter any emergency precautions and further requirements needed to complete the work safely.

7. Review your Hazards and Controls
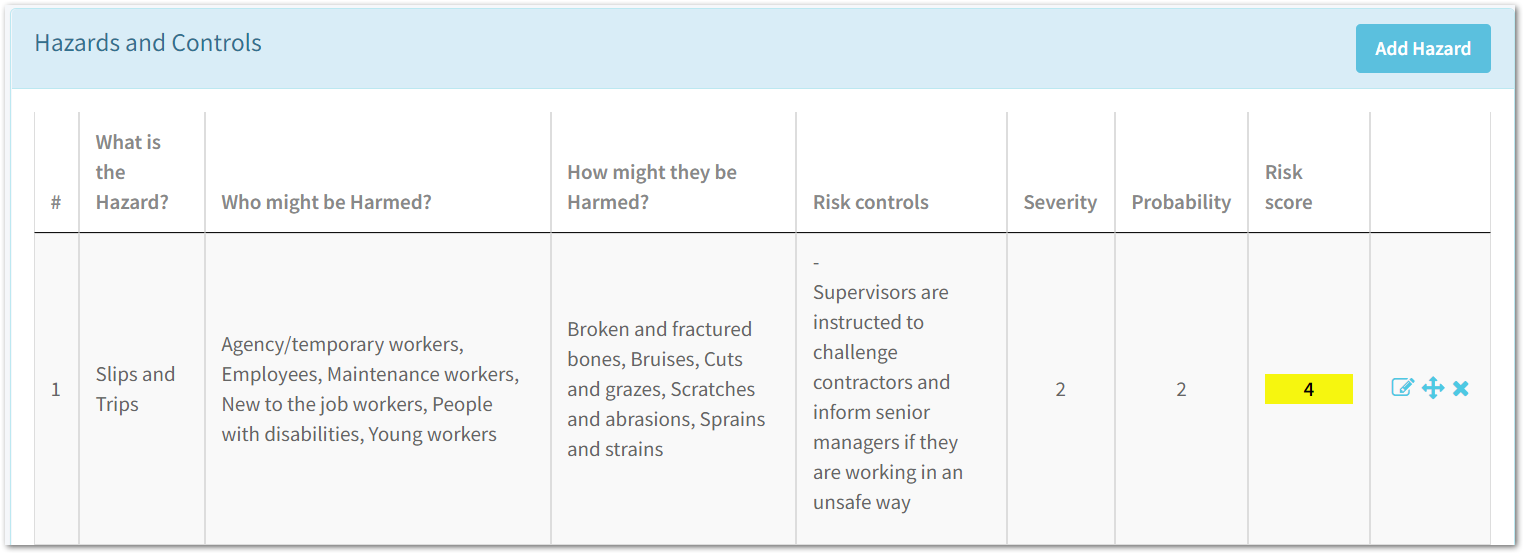
If you are working on a template that already has Hazards and Controls populated, you may want to review these to ensure they are relevant to the assessment.
7.1 Optionally edit, delete and/or change the order of your Hazards

- To edit: click on the pen and paper icon - this will allow you to edit the Hazard, Controls and Risk Score. Click here to read about adding Hazards and Controls to your risk assessment.
- To change the order: click on the horizontal and vertical arrows and drag up/down.
- To delete: click on the cross icon.
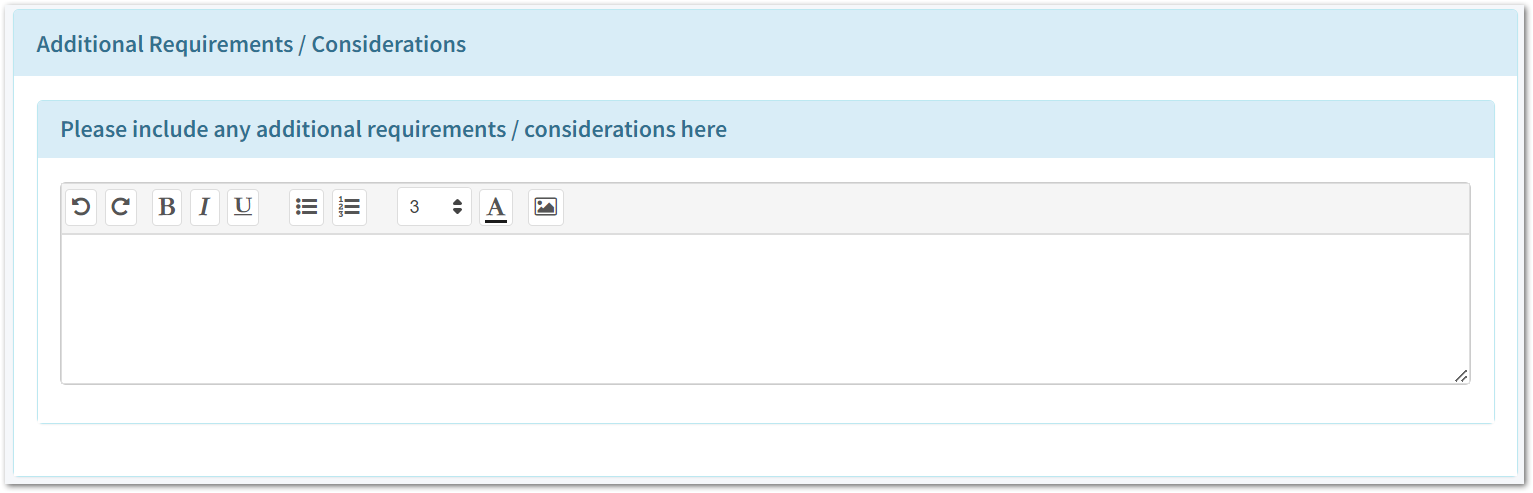
9. Optionally review/complete any additional fields
10. Sign your Risk Assessment
Note: This step won't be relevant if the E-signature fields have not been switched on in the Risk Assessment Template.

To sign your Risk Assessment, click on the Click to Sign button. Then, use your mouse to draw your signature.

Then, Click Save.
11. Optionally Add Attachments
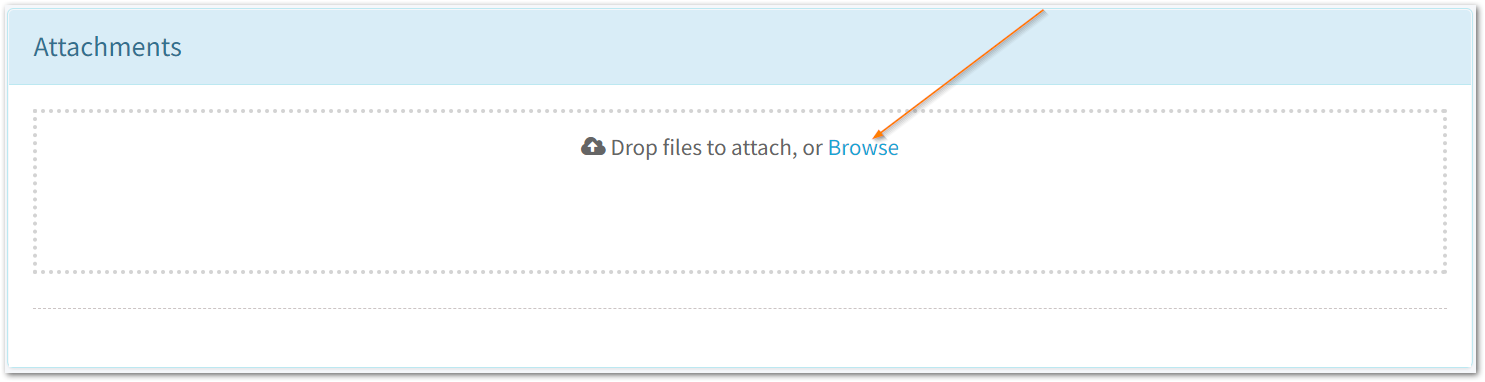
To do this, click browse and search for the item you would like to attach. Alternatively, drag and drop items from your files.
12. Click Publish

Alternatively, click Save Draft should you wish to continue working on the Risk Assessment.