![Notify_Refresh_MasterLogo_CMYK[1]](https://helpcentre.notifytechnology.com/hs-fs/hubfs/Notify_Refresh_MasterLogo_CMYK%5B1%5D.png?width=291&height=117&name=Notify_Refresh_MasterLogo_CMYK%5B1%5D.png)
Note: Your organisation may have customised some screens, so they may not appear the same. Don't worry though, the concept remains the same.
If in doubt, contact your System Administrator for further support.
Firstly, you will need to login to your Notify account, you can do this here
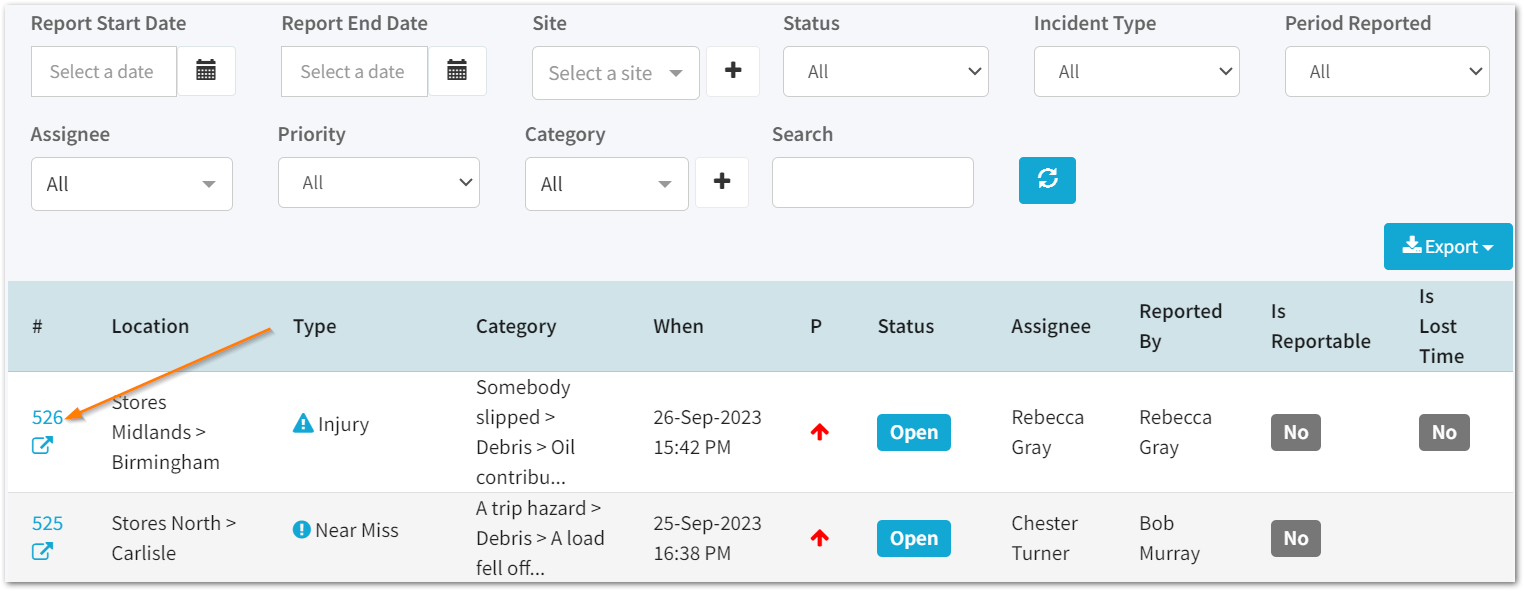
1. Click on the Incidents tab

2. Select the incident you want to flag as lost time
When flagging an incident as lost time, there are two options for calculating the lost working days; you can calculate and enter this manually or auto calculate the working days.
Note: Auto-calculation of lost days must be switched on in My Company Settings to use this feature.
To skip to the auto-calculation of lost days, click here
To view the manual option, continue reading.
3. Click the ✏️ icon under Is this a Lost Time Incident?

Note: There are some permissions that restrict you from being able to edit the Lost Time, Reportable and Priority flags on incidents.
If you are not able to do this, please contact your system administrator who will be able to support.
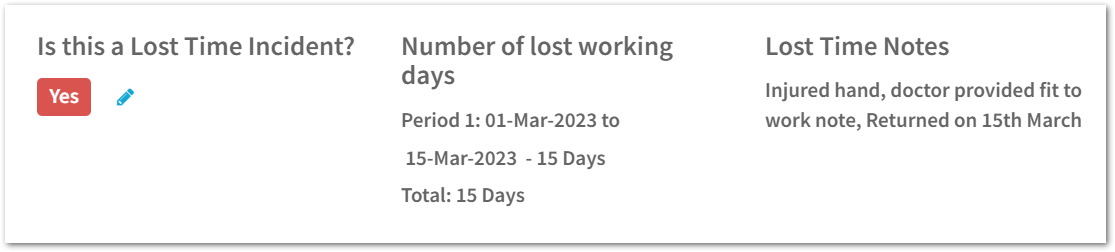
4. Select Yes

5. Enter the amount of working days lost

6. Optionally add notes

7. Click save

Auto-calculation of lost time
1. Select the ✏️ icon

2. Enter the first day of absence

This feature will allow you to enter up to 3 periods of absence per incident.
3. Enter the last day of absence

If the last day of absence is unknown, check the 'Last Day unknown' box.
Notify will then automatically update the Total Calculated Lost Days value as each working day moves on.
4. Optionally enter notes

5. Click Save

Then, the view Incident Details screen will include all details referring to the auto-calculated values.