![Notify_Refresh_MasterLogo_CMYK[1]](https://helpcentre.notifytechnology.com/hs-fs/hubfs/Notify_Refresh_MasterLogo_CMYK%5B1%5D.png?width=291&height=117&name=Notify_Refresh_MasterLogo_CMYK%5B1%5D.png)
Firstly, you will need to login to your Notify account, you can do this here
1. Click Schedules

2. Select Add Schedule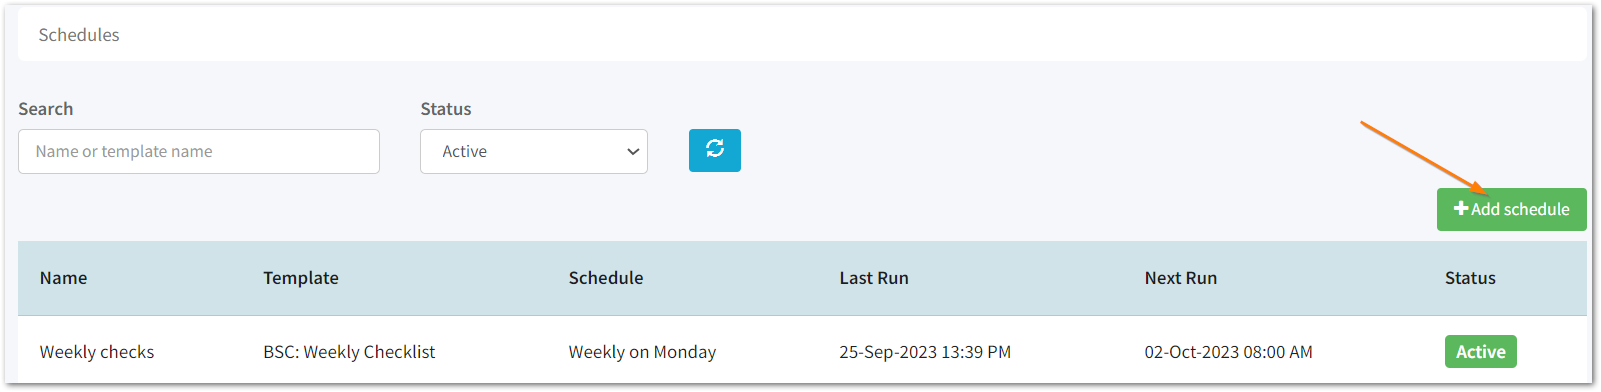
You will then be taken to the main 'Schedules' dashboard. Here you have an overview of all your schedules which are currently active.
Tip: Use the Status filters to find Active, Scheduled and Archived schedules.
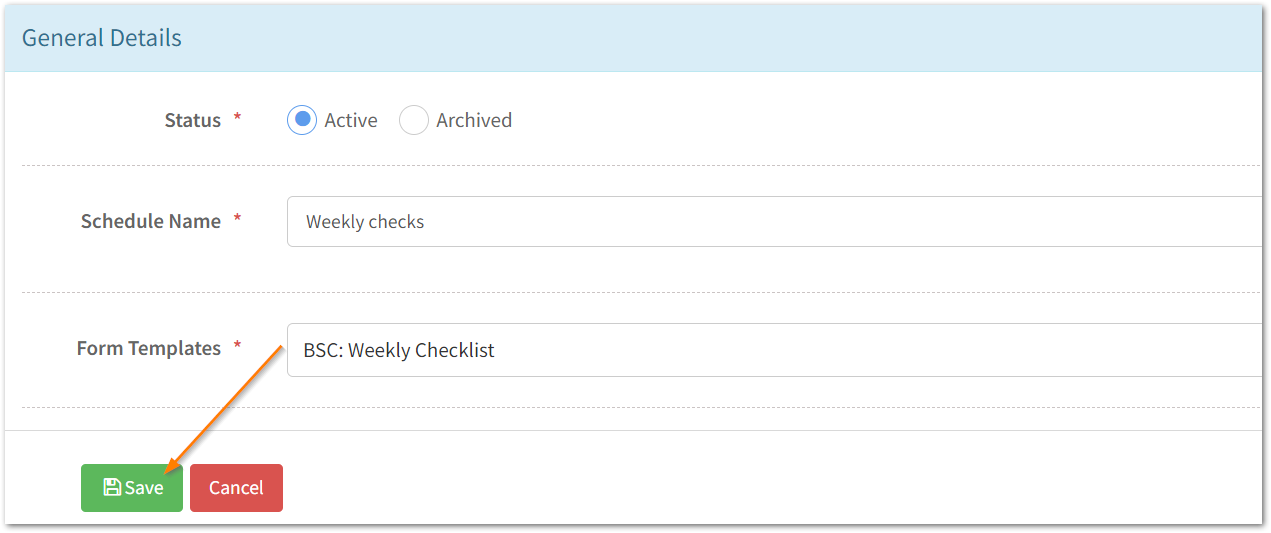
3. Complete the General Details section
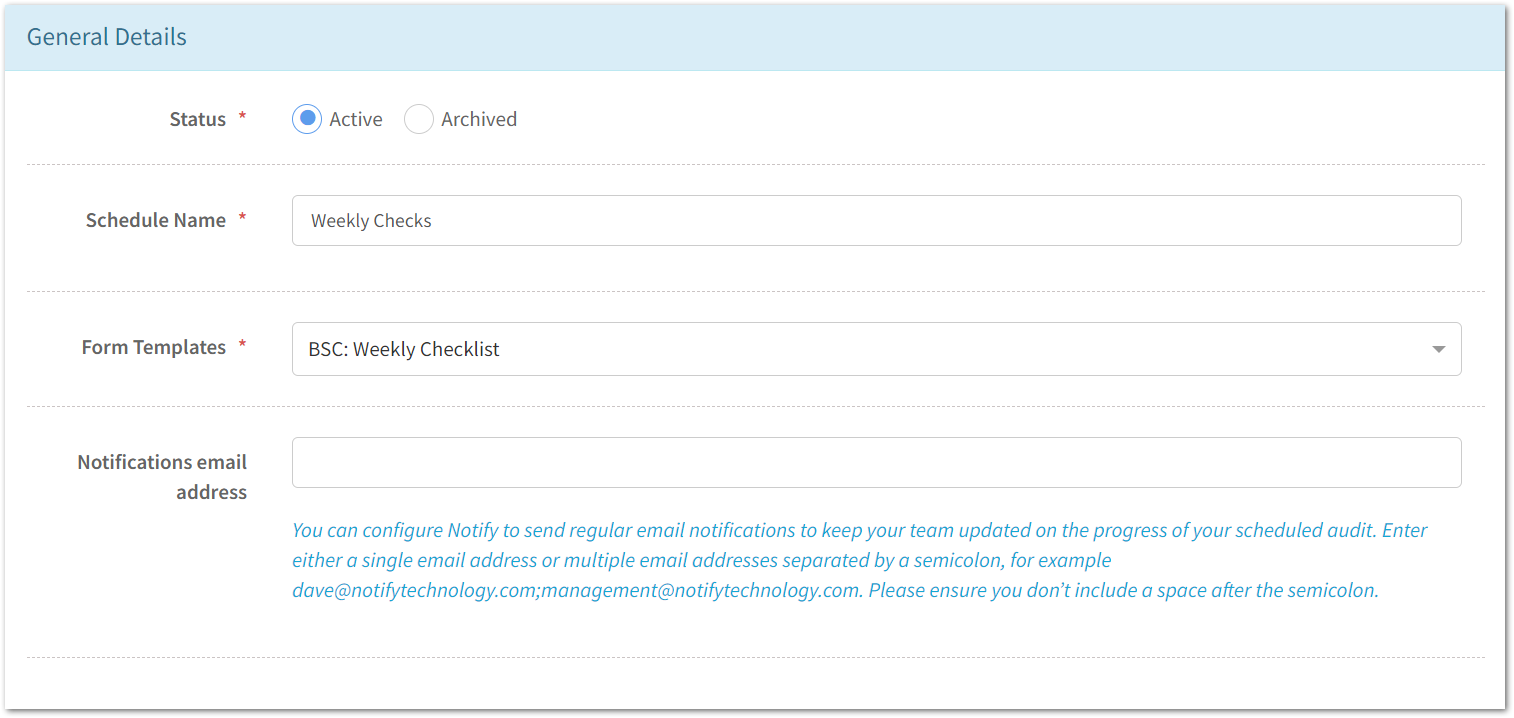
Here, you will need to give your schedule a name and choose the form template for the audit you will be scheduling.
Optionally include email addresses of users that you wish to receive update notifications via email on the progress of the scheduled audits.
Note: Form Templates must be published in order to be scheduled.
4. Select the frequency and time of your schedule
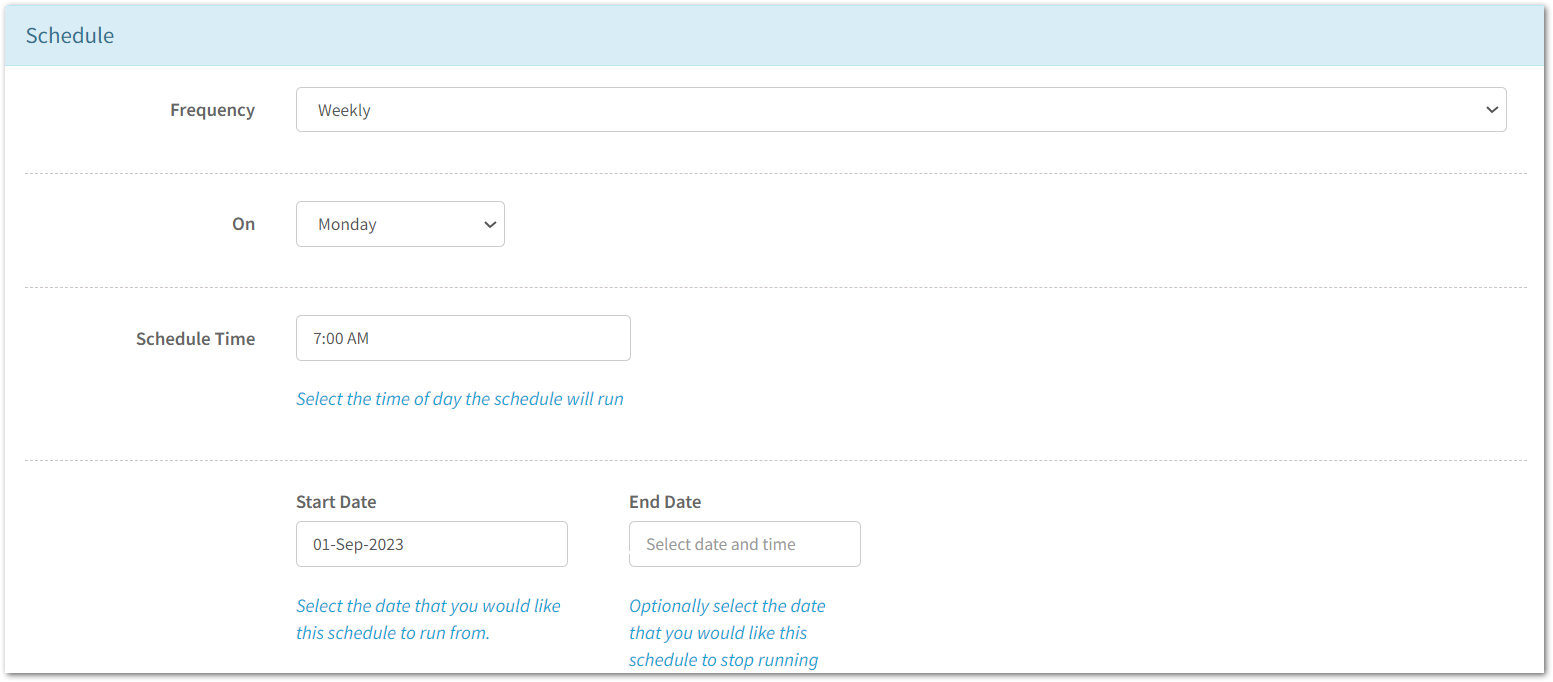
You can select between:
- Once
- Daily
- Weekly
- Monthly
- Every Weekday
- Every x weeks
- Every x months
- Last day of the month
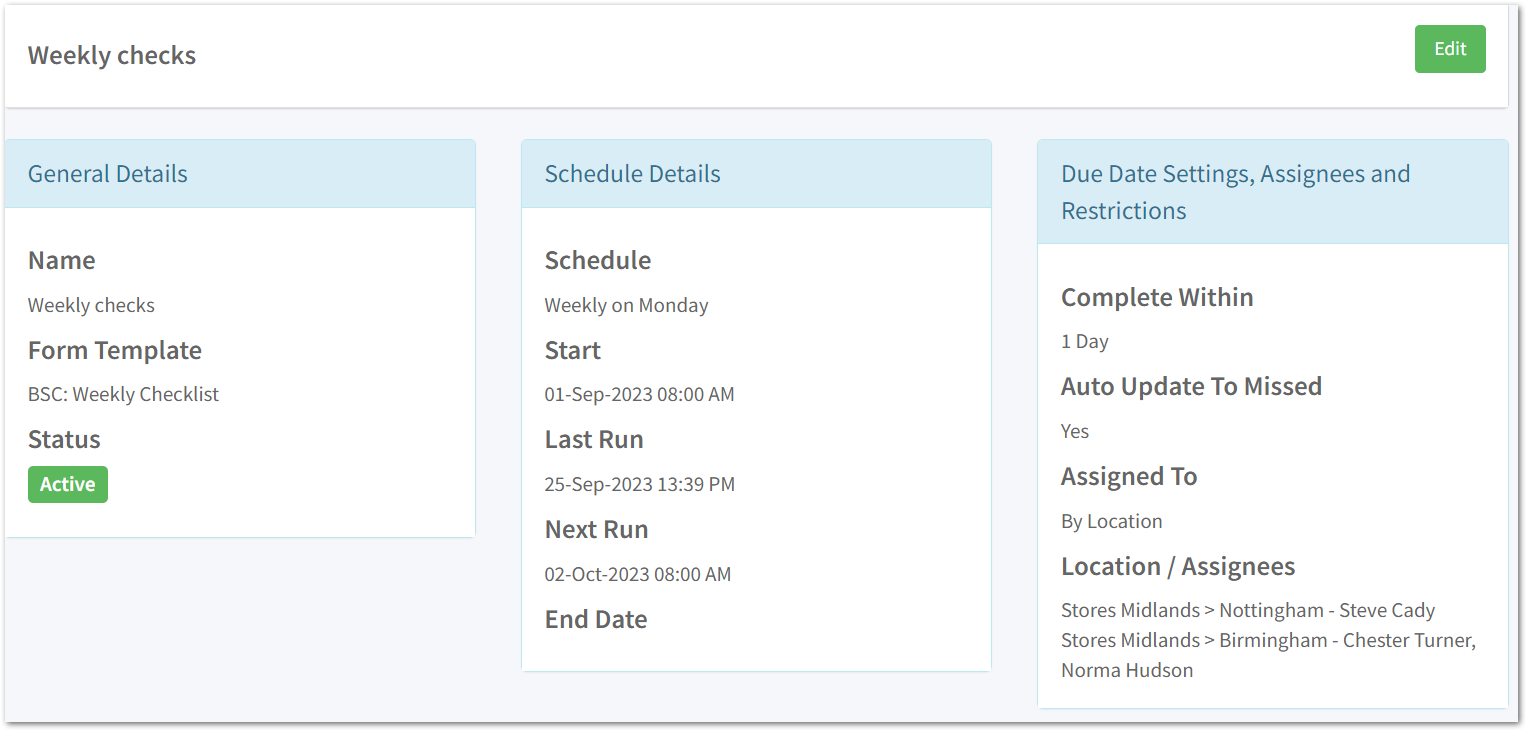
5. Optionally set a due date for the scheduled audits

If an audit is not completed within the time frame specified, the audit status will appear as Overdue.
If you have selected the option to Auto Update to Missed, the audit status will be changed to missed.
In both cases, audits will still be able to be completed and the status will update to reflect this.
6. Select the assignees of the scheduled audit
Note: Users who are assigned audits via schedules must have a Notify Auditor license and be assigned the necessary user permissions.
6.a Assigning to individual users
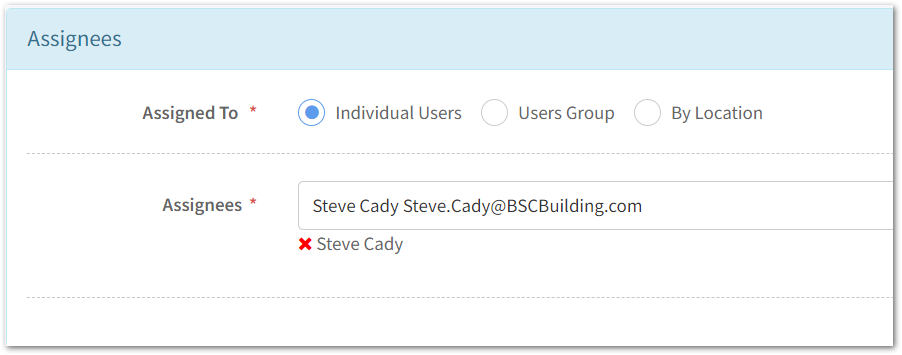
Select Individual Users next to Assigned To
Click into the Assignees drop-down and click on the users.
Usernames of those with the relevant audit permissions will then appear underneath - these are the users that will be assigned an audit once the schedule is live.
To remove these, click on the red cross.
6.b Assigning to user groups
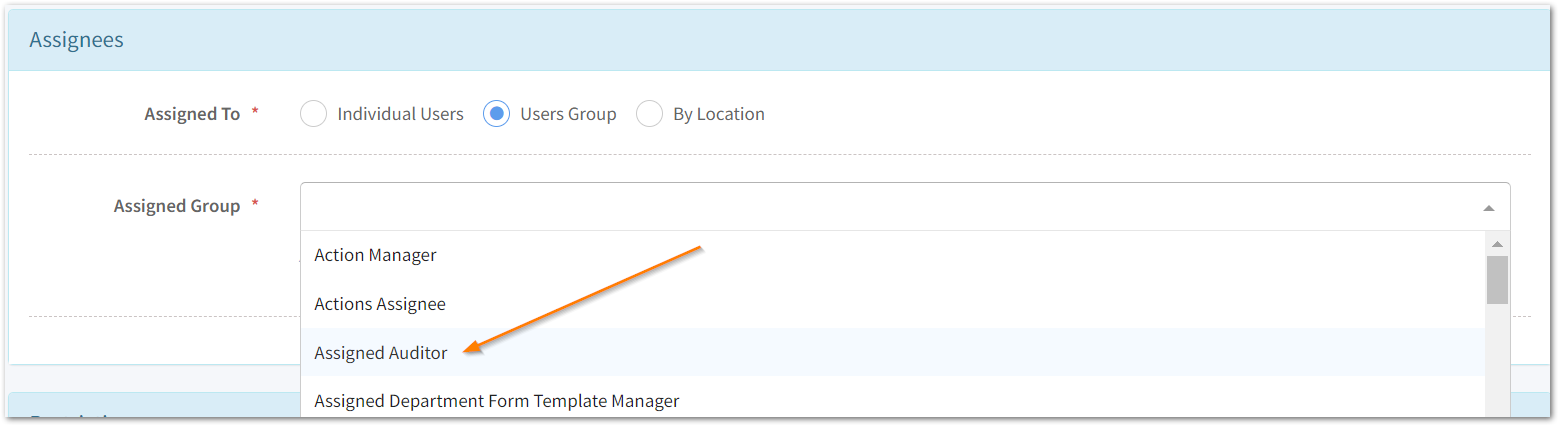
First, select Users Group next to Assigned to
Then, click into the Assigned Group Drop down and select the group that will be completing the scheduled audit.
6.b.i Optionally restrict this to a location
Click on Create Organisation Structure Links and choose which areas of the business you want the audit to be carried out across. Then, to click save.

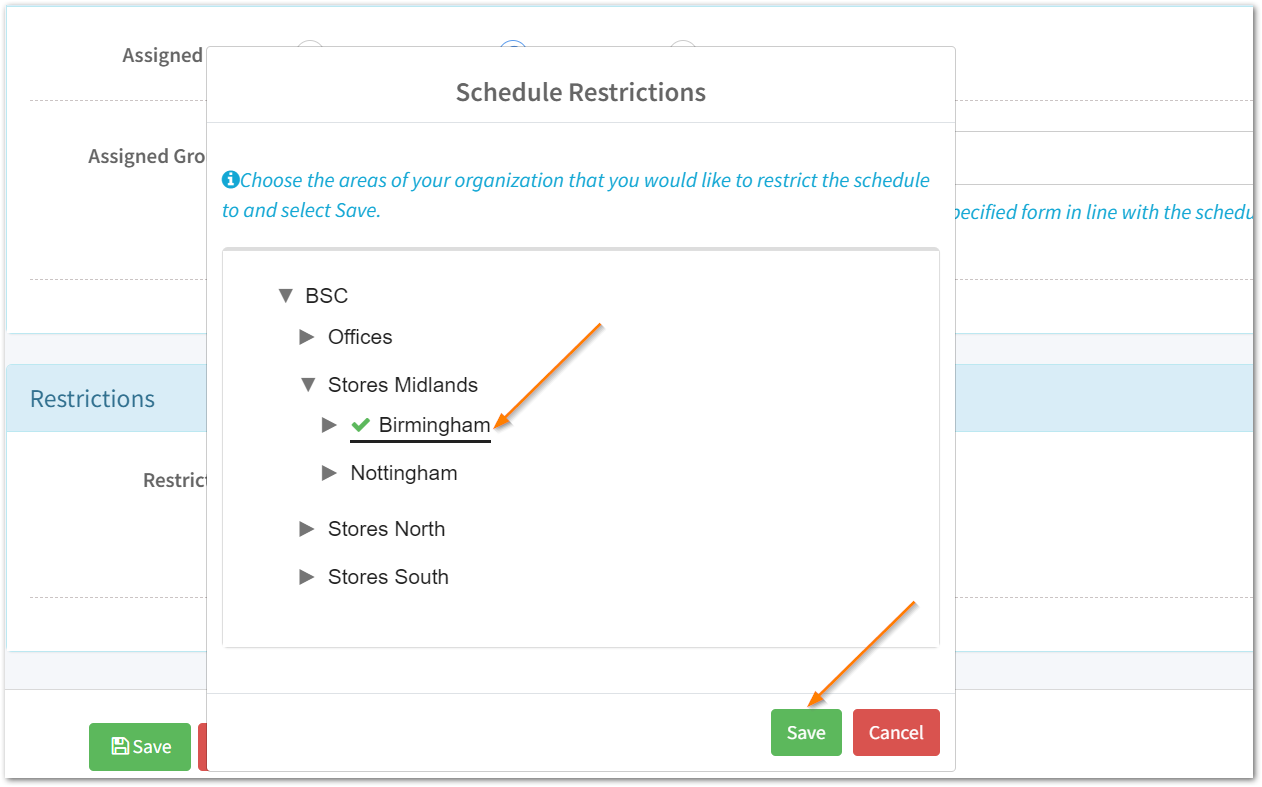
This will then assign an audit to each user within the permission group chosen and in the locations selected.
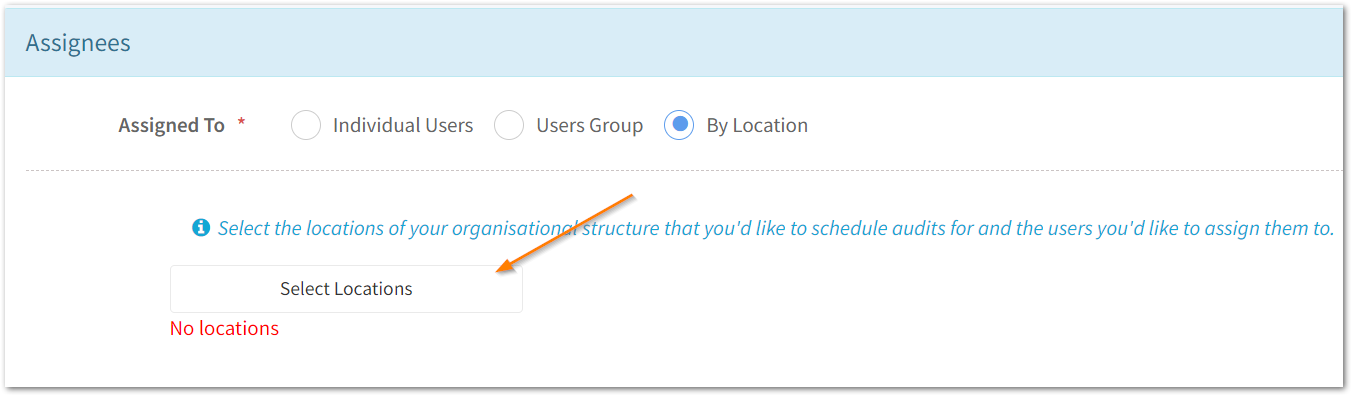
6.c Assigning by organisation structure location
Please Note: In order to assign audits by location, you must ensure users are linked to an organisation structure location in their user profile - read about how to do this here
Select By Location next to Assigned To and choose Select Locations
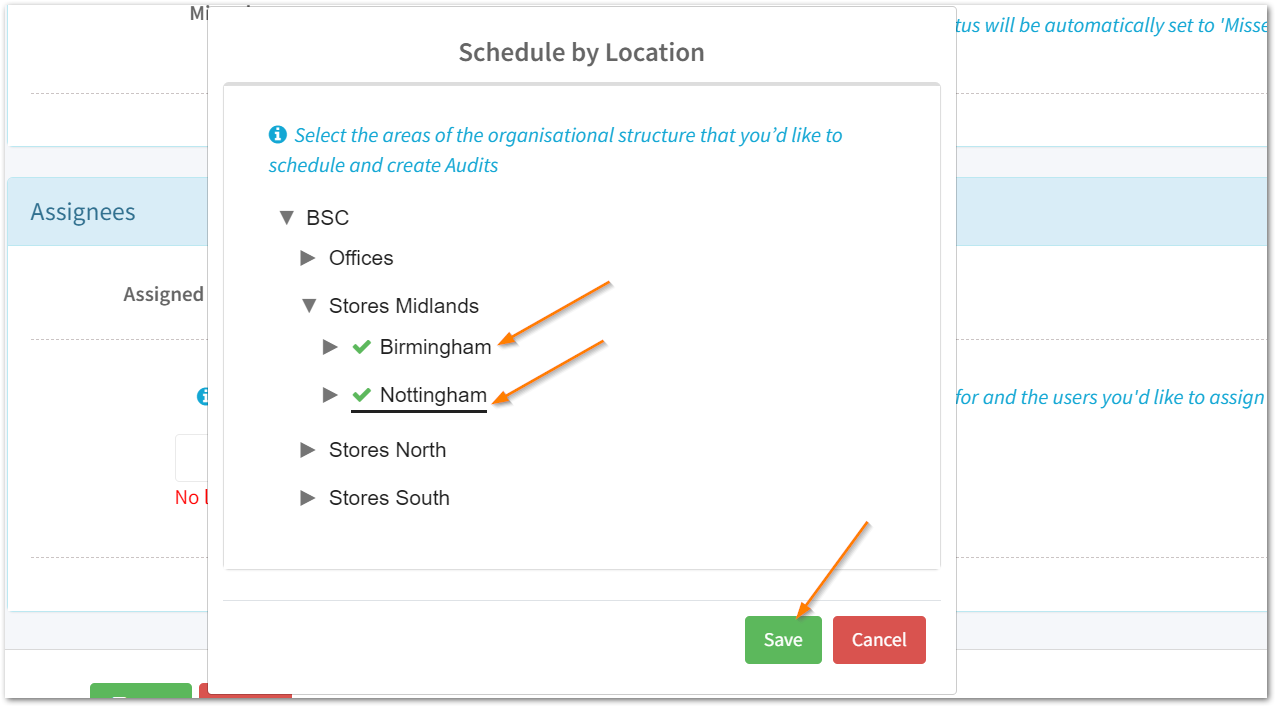
Select which areas of the business are going to be completing the audit
Finally, assign the audit to the users linked to these locations
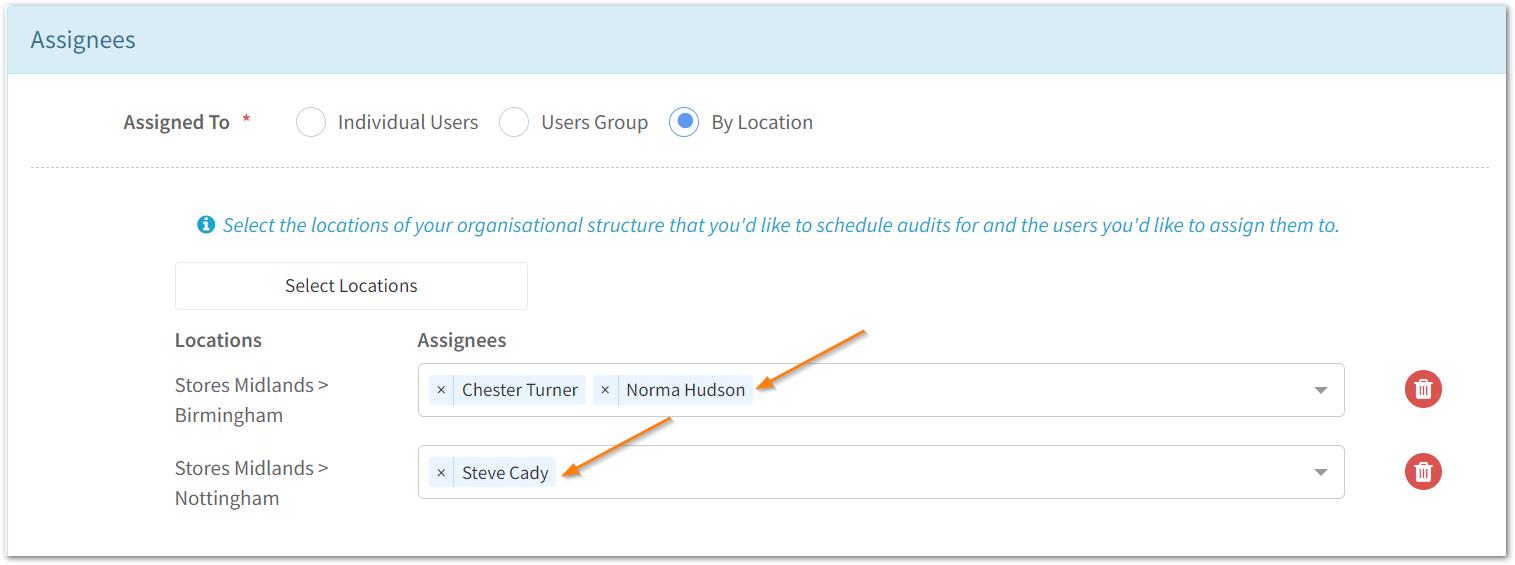
To remove a user, select the X next to their name.
To remove a location, select the bin icon.