![Notify_Refresh_MasterLogo_CMYK[1]](https://helpcentre.notifytechnology.com/hs-fs/hubfs/Notify_Refresh_MasterLogo_CMYK%5B1%5D.png?width=291&height=117&name=Notify_Refresh_MasterLogo_CMYK%5B1%5D.png)
Firstly, you will need to login to your Notify account, you can do this here
1. Select the form templates tab

2. Select Create a new Template
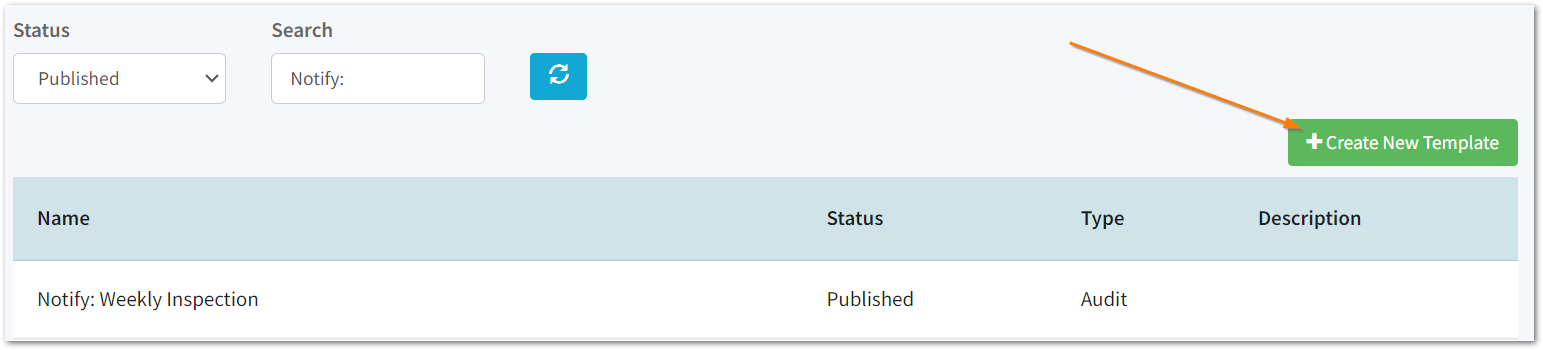
Alternatively, select a template you have already created.
If you are editing an existing published template, remember to click Create New Version to be able to make changes.
1. Language Preferences

The first option available is to enable Multi-language. Please reach out to our Customer Success team should you wish to learn more about Multi-Language.
2. Report Preferences
Confidential settings

To allow an audit to be flagged as confidential, switch on Can be Confidential.
To automatically flag audits created with this template as confidential, use the toggle to switch this on.
Optionally add confidential delegates - these are users who will be able to view any audits marked as confidential using this template.
Who is able to view confidential audits?
- The audit assignee
- Confidential delegates
- Users with the Confidential Audit Manager permission.
Enabling Scoring
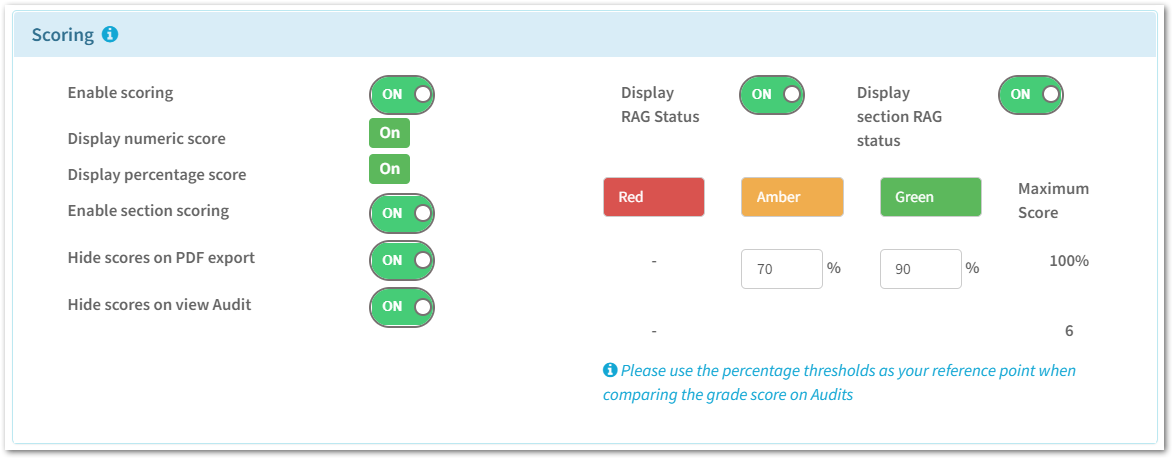
Enabling scoring will provide you with an overall numeric and percentage score on your audit which can then be found on the audit itself.
Within these settings you have the option to enable section scoring, which will provide scores for each section within your audit.
To hide the score in the PDF export and the main audit tab, use the toggle to switch this on.
To display a Red, Amber or Green (RAG) status on your completed audit, you will need to switch this on and enter the percentage thresholds e.g. 70% and below for Amber and 90% and above for Green.
You can also achieve this grading at the section level, by switching on Display section RAG status.
Tip: You can override the Red Amber Green text by typing your own definitions into the boxes (Max length is 15 characters including spaces).
Once you have switched on scoring, you will be able to determine the score for each form field type as you add these in when building the rest of your template.
Please note that scoring can only be configured on the below field types:
- List
- Linear Scale
- Yes/No/NA
- Safe/At Risk
- Red/Amber/Green
Themes
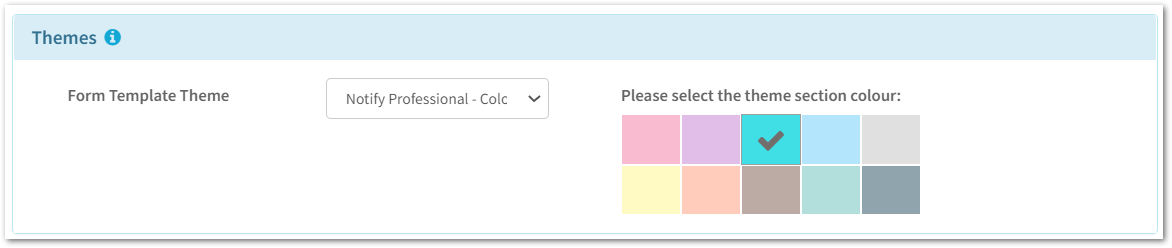
To choose the colour theme for your PDF export, choose from the colours available.
If you prefer black and white, you can select Notify Professional - Grey Scale in the drop-down.
Front page & contents
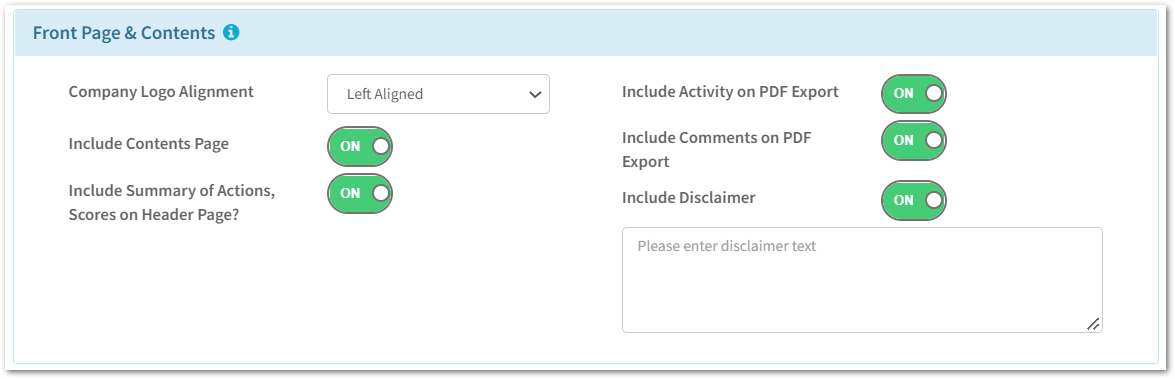
This area is to customise the PDF that is generated when exporting an audit.
Use the toggles to switch the features on and off.
To include a disclaimer, enter the text into text box provided, e.g. Private & confidential
Please note there is a character limit on the disclaimer text of 256 characters including spaces.
Footer
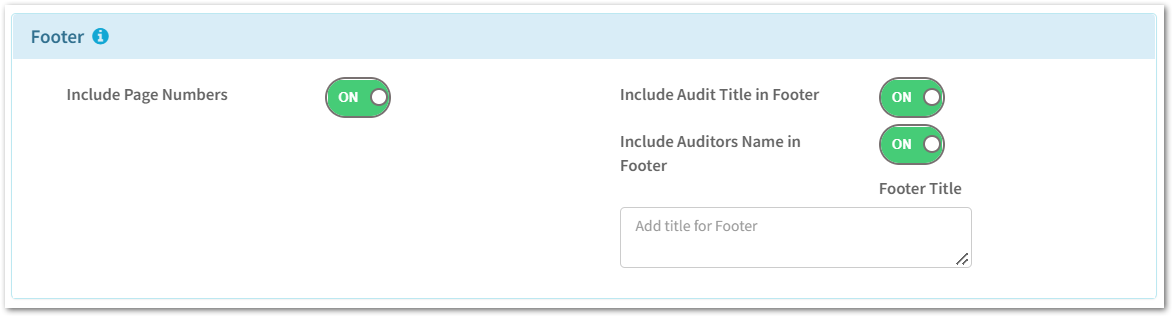
Here you can customise the footer of the PDF export generated.
You can include page numbers; whether the audit title and auditor's name is included in the footer - as well as creating a footer title.
Please note that there is a character limit on the Footer Title of 256 characters including spaces.
QR Code settings


Once an audit has been saved and/or published, you will then be able to switch on the QR code settings using the toggle provided.
This will allow you to export a QR code that will point to the audit template created.
Once you have switched this on, publish your audit.
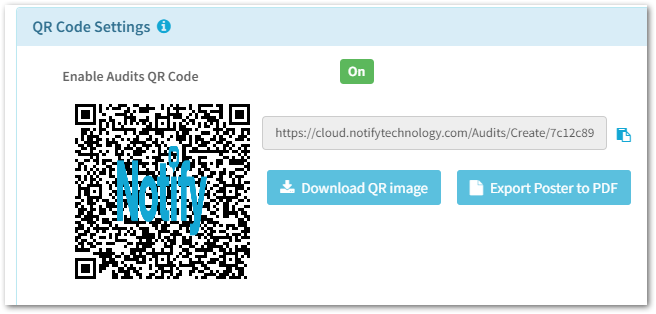
You will then see you have the option to download the QR image, or export the generated poster to PDF.
When the QR code is scanned, it will ask auditors to login to their Notify account.
Once they have logged in, they'll be able to start completing the audit.